Are you ready to explore new dimensions in content creation on your WordPress site? The combination of OpenRouter and the Aiify plugin can offer a rich variety of AI models to enhance and generate compelling content. In this guide, we’ll walk you through the steps to set up OpenRouter with the Aiify plugin on your WordPress website.
Step 1: Obtain OpenRouter API Key
- Visit the OpenRouter website and sign up for an account if you haven’t already.
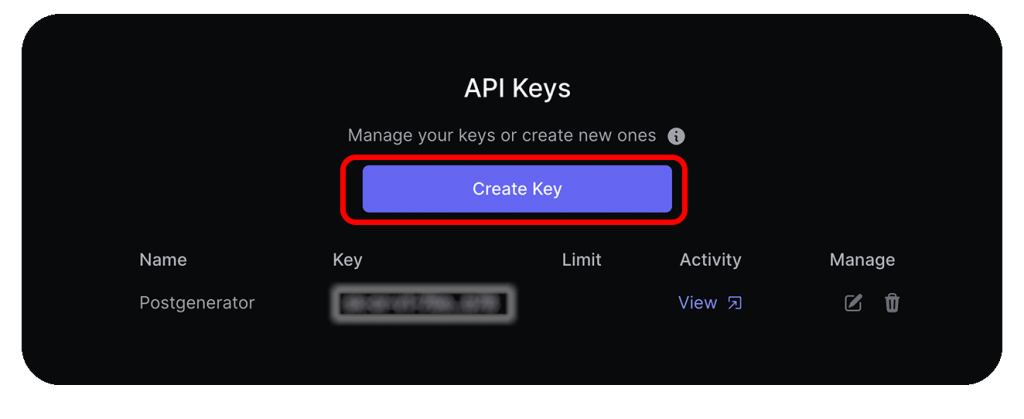
- Once you created your account, Log in, and Click on “Keys”.

- Click on “Create Key” button.
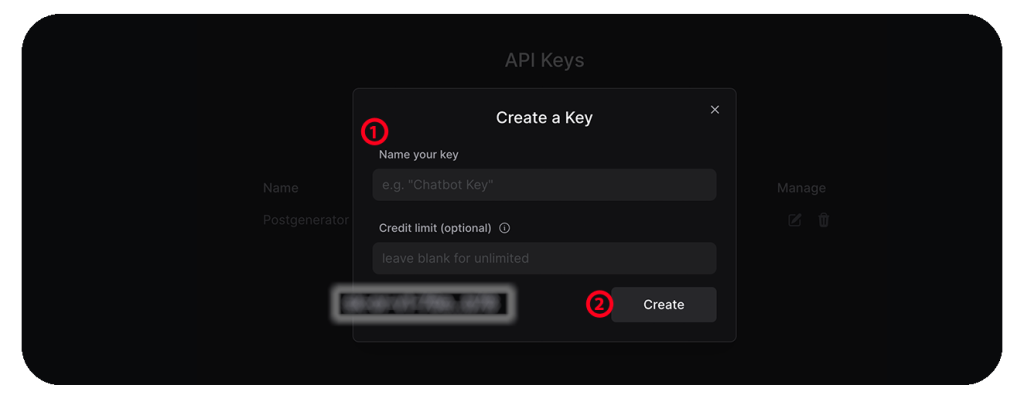
A popup will appear, asking you to name your secret API key.
- Make sure to choose a name that helps you remember its purpose.
- After naming it, click the “Create” button.
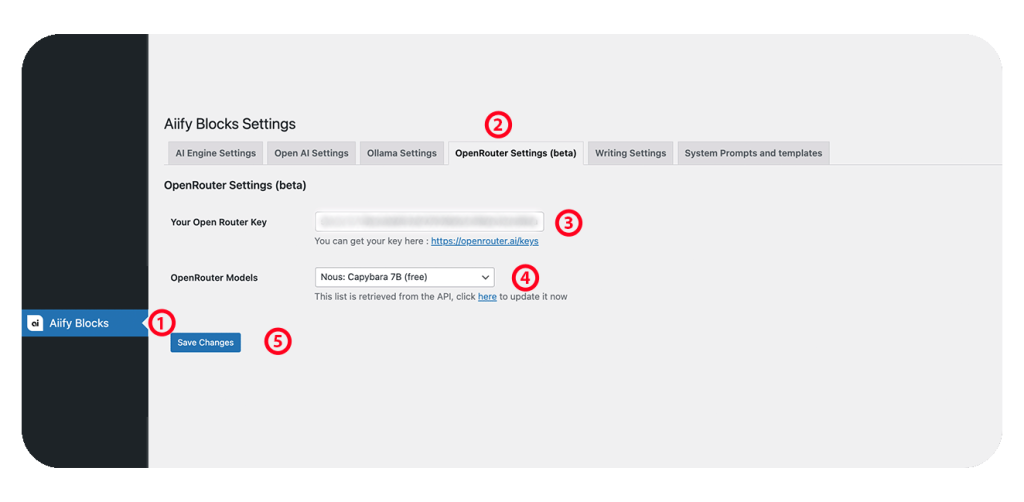
Step 2: Configure Aiify Plugin with OpenRouter
- In your WordPress dashboard, find the “Aiify” menu item.
- Enter your OpenRouter API key in the OpenRouter Settings TAB.
- Past your OpenRouter Key that you create.
- Choose an OpenRouter Model that you want from the list
- Save the changes.
Congratulations! You’ve successfully integrated OpenRouter with the Aiify plugin on your WordPress site. Enjoy the versatility and richness of content creation offered by OpenRouter’s diverse AI models.
Stay updated with any plugin or model releases to access new features and improvements. Now, dive into a more dynamic and engaging content creation experience with OpenRouter and Aiify!